Thursday, December 8, 2011

Ludurana - Admirável Multichrome

Here is the multichrome amazingness that is Ludurana Admirável.
The colour shift in the polish is identical to Ozotic 503 - the polish that is nay impossible to get these days, unless you managed to scoop one up through Picture Polish when they had them available earlier this year.

But there is something very special about these Ludurana polishes compared to Ozotics, but I will get to that a bit further down.  First up, here is some Admirável spam.


The big difference with this polish, compared to Ozotic 503 is in its opacity.  Ludurana Admirável is much more opaque.  You can get total coverage in three coats, whereas three coats of Ozotic 503 on it's own is still very sheer.

I really love that I can get this opaque on it's own as I often get tired of a black base because I feel my nails look a little dirty when I wear one.  You know when you wearing a pretty colour on top, but underneath the tip its all dark and constantly has you making sure it's clean under there.

Here are some comparison shots of Admirável against Ozotic 503.


It is worth noting though, that both Ludurana Admirável and Ozotic 503 look identical applied over a black base.


Again for some reason I had a few issues with bubbling with the Ludurana,  I'm guessing it was more to do with user error and rushing my mani, rather than a formula issue.  But I'll reserve judgement until I wear this again.

These polishes are available from llrowe (or through an awesome swap buddy in Brazil).

Wednesday, December 7, 2011

A soft leopard print look

Hi everyone~I saw this amazing nail art over at Katrina's blog (I can't find the post anymore ><) and knew I had to try it out for myself :)

soft leopard1

I applied three coats of NOPI Kim-pletely in love onto my index and pinky nails. For my fourth finger, I applied three coats of China Glaze Sunset sail. Two coats of Ulta3 lily white was applied onto my thumb and third finger. I then took Kim-pletely in love and Sunset sail to apply the random dots for the leopard print. The prints were outlined with Ulta3 black satin.

soft leopard2

soft leopard3

I loved this mani so much I wore it for four days :D What do you think of it?

Thanks for reading.
~Sharon

Tuesday, December 6, 2011

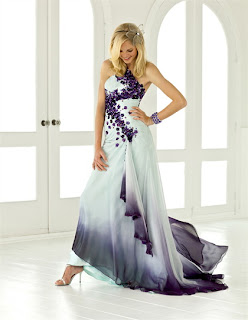
Select the best celebration clothing models 2012

It is a chance to create your style items for the next season, such as celebration clothes 2012, and other elements that can several your clothing well. And you have to be an experienced young lady, applications must be as particular as possible.
There are many types of design models that you can take into account, here is the top models that you may be considering.

The key to being stunning at the party, generally, is all about sporting to provide a extraordinary perception and being exclusive from the other individuals. You can select between some top developers, their models will offer you much of splendor. You can select Faviana, La Femme, Tony a2z Containers, Sherri Slope, they can offer you the different sensation as you wish.
Area have no worry for great-looking off white party gowns  from the Sherri Slope. When putting on dress, women feel authorized to display their products perfectly. Choosing a Sherri Slope dress to the party is certainly, an excellent option.
A amazing way to certainly that you or the young lady is often kept in mind is by enchanting into the celebration with a amazing Terani design. Stunning coloring is all the anger these days will carry females much of stunning overall look. They have lots of colours for a dress by Terani for you.

Long professional clothes will make it a good time and occurrence to show personal individuality. Buying a dress by useful events shoes your look to a high touching. Women can acquire an immediate campaign by dropping into a stunning dress.
These party clothes and clothes are certainly popular and targeted for royals. Women can even select a dress that is as queen as a attractive design. With design and professionally hand-made beading, these styles characterize the most fashionable parts of lifestyle, while mixing the style and allure of a common design.

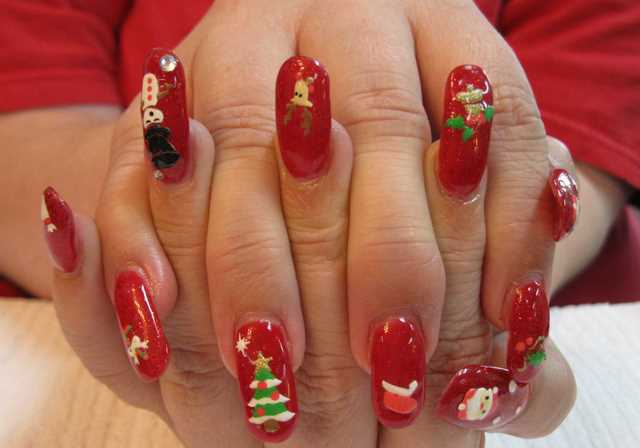
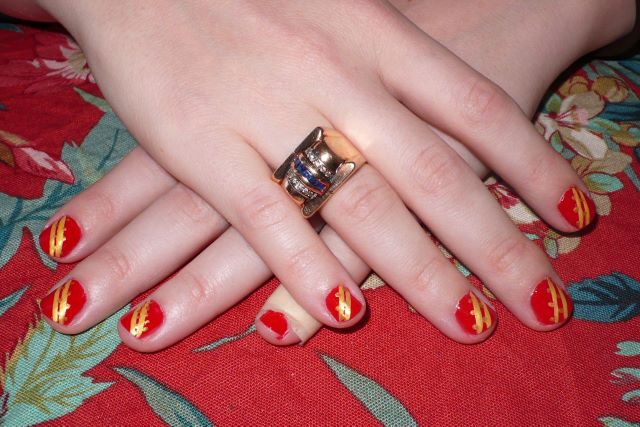
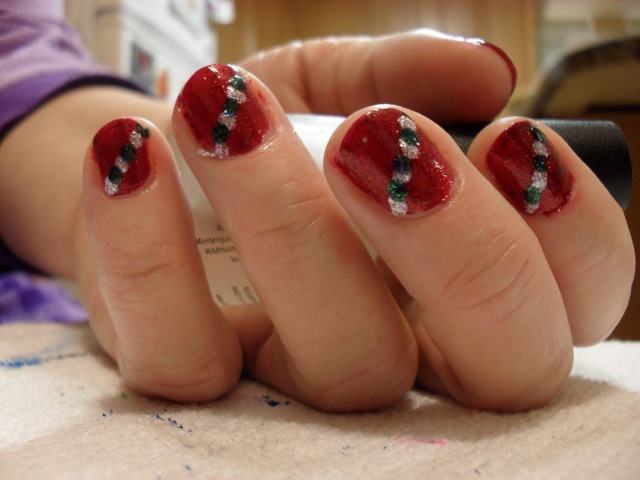
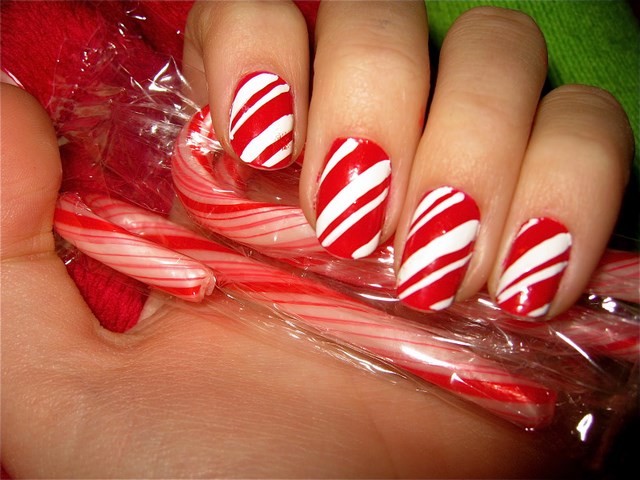
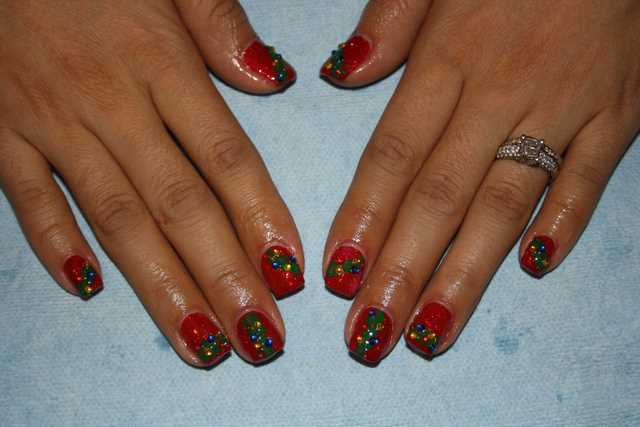
Christmas Nail Art 2012

Blue and White New Nail Art Ideas for  Happy Merry Christmas


Christmas Nail Art for Long Nails

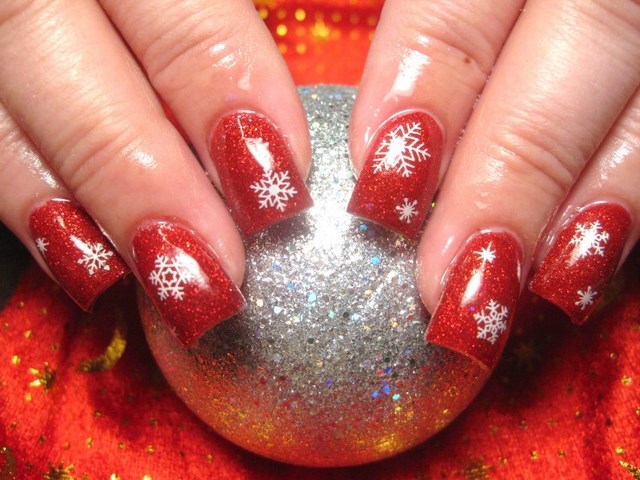
Red and White X-Mas Nail Arts Designs

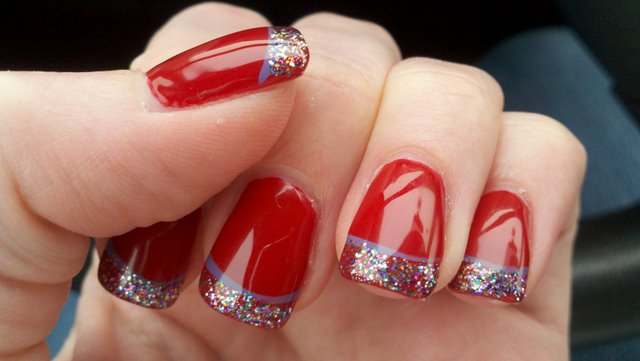
Christmas Nail Polish Red Color

Christmas Nail Art Image for Sort Nails

Short Christmas Nail Arts

Red Shinny Nail Arts Pictures for X-mas

Red and White Colors Nail Polish Patterns

X-mas Nails Design

Color Club Beyond the Mistletoe

Good morning, Dear Reader!

Color Club sent their Beyond the Mistletoe Collection for review, and I'm wearing the namesake of the collection today.

Beyond the Mistletoe is a very pale, barely green medium-fine glitter that's loaded up with some really exceptional holographic glitter.  The base is clear and the glitter provides full coverage in just two coats.  I applied it late last night, and since the glitter's pretty fine I'd hoped the one coat of Essie Good to Go I'd used to dry it would be enough, but this morning it was totally dull and felt like sand.  I kept adding one coat of top coat as I sat here doing other things, and at five coats of top coat, it's smooth.  That's a lot, but not terribly high maintenance since adding each coat to a dry manicure takes about one minute and dries really fast, and the finished manicure is totally worth it.

It's cloudy (and snowing!) here today, so the pictures are just a hint at the glitter - it's really blazing, and I have yet to see a picture of it that really shows just how cool the polish is.  I'll toss my own inadequate representations onto the pile and give you my cloudy-day pics of Beyond the Mistletoe.

Color Club Beyond the Mistletoe
Color Club Beyond the Mistletoe Nail Polish, Two Coats

I chose this picture because the middle of the polish bottle gives you a glimpse of how this really looks on all nails - the bright colors reflected show up well even in indoor lighting.  Here is a closer look at part of one nail so you can see the glitter a little better.

Color Club Beyond the Mistletoe Nail Polish Glitter
Color Club Beyond the Mistletoe Nail Polish, Closer Look at Two Coats

A polish that looks like this under a cloudy, snowy sky is a winner in my book.  I've already chosen another from this collection to wear when I present this project I'm working on - I figure even if I completely bomb, I have a solid shot at mesmerizing them all with my mani and no one will notice!

That's Color Club Beyond the Mistletoe and the first of the collection, so until next time, Dear Reader, love and nail polish to you!


All Rights Reserved, Siobhan@The Nailphile. If you're reading this elsewhere, it's stolen from a real nail polish blog.

Color Club Beyond the Mistletoe

Good morning, Dear Reader!

Color Club sent their Beyond the Mistletoe Collection for review, and I'm wearing the namesake of the collection today.

Beyond the Mistletoe is a very pale, barely green medium-fine glitter that's loaded up with some really exceptional holographic glitter.  The base is clear and the glitter provides full coverage in just two coats.  I applied it late last night, and since the glitter's pretty fine I'd hoped the one coat of Essie Good to Go I'd used to dry it would be enough, but this morning it was totally dull and felt like sand.  I kept adding one coat of top coat as I sat here doing other things, and at five coats of top coat, it's smooth.  That's a lot, but not terribly high maintenance since adding each coat to a dry manicure takes about one minute and dries really fast, and the finished manicure is totally worth it.

It's cloudy (and snowing!) here today, so the pictures are just a hint at the glitter - it's really blazing, and I have yet to see a picture of it that really shows just how cool the polish is.  I'll toss my own inadequate representations onto the pile and give you my cloudy-day pics of Beyond the Mistletoe.

Color Club Beyond the Mistletoe
Color Club Beyond the Mistletoe Nail Polish, Two Coats

I chose this picture because the middle of the polish bottle gives you a glimpse of how this really looks on all nails - the bright colors reflected show up well even in indoor lighting.  Here is a closer look at part of one nail so you can see the glitter a little better.

Color Club Beyond the Mistletoe Nail Polish Glitter
Color Club Beyond the Mistletoe Nail Polish, Closer Look at Two Coats

A polish that looks like this under a cloudy, snowy sky is a winner in my book.  I've already chosen another from this collection to wear when I present this project I'm working on - I figure even if I completely bomb, I have a solid shot at mesmerizing them all with my mani and no one will notice!

That's Color Club Beyond the Mistletoe and the first of the collection, so until next time, Dear Reader, love and nail polish to you!


All Rights Reserved, Siobhan@The Nailphile. If you're reading this elsewhere, it's stolen from a real nail polish blog.

Ludurana - Superior

So many new polishes I don't know where to start.  But I had to start somewhere and the sun was out, which means holos!

This is Ludurana Superior from the Aurora Boreal collection.  The collection has six holos and six multichromes.  I'm going to alternate a holo and a multichrome each day.

Superior is a yellow gold holo.  The particles in this look very spectraflairesque. That is, this polish would match in well with the Ozotic holos.

The colour is very simiar to China Glaze L8R G8R from OMG Collection, but the holo effect is completely different.


This was three coats, you could definitely get away with two coats, but I wanted to ensure a nice rich bottle colour for my photos.  Application was smooth and easy, no bald spots, but I did notice that I got a few tiny bubbles as it dried.  I never get bubbles so I'm not sure what that was about.  A coat of Seche Vite quicky covered the bubbles and also didn't dull the holo effect.  

I got this polish from a swap, but you can purchase through llarowe.

Monday, December 5, 2011

Konad m85 & m84

Good morning, Dear Reader!

Last night I realized I simply wasn't up for scrape-y edges of my failed Sweet Tart-an manicure poking me, so I changed it and called that one an expensive waste.

This week is a big one because it's the last week of the semester before finals.  Yes, semester and finals - after the professional ethics debacle last spring, I decided I needed to get some letters after my name to prevent that in the future and started grad school full time in August.  I have a nightmarish project to muscle through this week to keep my A in the only class where there's a question mark about an A, and a fun mani seemed like a much better choice than an annoying one that's constantly poking me for that.

My ultimate "I'm in no mood..." color is Essie Punchy Pink, and I applied three coats last night.  I was horrified to discover that the remaining polish in the bottle is right at the bottom "e," so maybe two manicures left.  Still, I recalled driving on the highway to face my ex's ridiculous lawsuit against me two years ago, with him being a lawyer represented by a lawyer and me showing up alone hoping for the best, having a truck driver playing aggression games on the highway at about 6:00 a.m., halfway through the drive, and just how truly satisfying it was to flip him off with an Punchy Pink and black Konad mani.  That sealed the deal no matter how precious the remaining drops are, and I stamped it in Konad Black Pearl this morning.

On my tips, I used the interconnected rings pattern from Konad plate m85, which is a full nail pattern, but being open it lends itself to use as a tip pattern.  That went on all nails, and on my my left ring finger I added the lips pattern from Konad plate m85, sort of a nice little póg mo thóin touch.  The result is a bright fun manicure that makes me giggle, so it fits the bill perfectly.  Protect your retinas, because here's Punchy Pink.

Konad m85 and m84
Konad m85 with m84 over Essie Punchy Pink Nail Polish

In person, it's brighter - Punchy Pink is the single most retina-searing neon pink I've ever used, and that's one of the reasons I love it.

I'm off to dig into my last nightmarish project for the semester, so until next time, Dear Reader, love and nail polish to you!


All Rights Reserved, Siobhan@The Nailphile. If you're reading this elsewhere, it's stolen from a real nail polish blog.

12 Days of Christmas Nails: Day 3 PRESENTS!

Sure, I love getting the family together and eating a delicious meal on Christmas day but the gifts are also pretty awesome. I wrapped my nails up in ribbons for today's manicure.


Base colours (top to bottom): NYC Prince Street, Cult Nails Iconic, Barry M Gold Foil, No7 Stand Back.
Ribbon colours (top to bottom): Cult Nails My Kind of Cool Aid, GOSH Metallic Blue, BYS Fern, W7 Metallic Neptune.
I used white acrylic paint for the outlines.


TwitterBloglovin'Tumblr

Sunday, December 4, 2011

Sally Hansen Sweet Tart-an Salon Effects

Good evening, Dear Reader!

I came across some new Sally Hansen Salon Effects nail polish strips while grocery shopping today, and they seemed like a good choice after soaking off OPI Divine Swine - I was up for low maintenance after that!

I've found that there's significant variation from one pattern to the next in how easy or difficult Sally Hansen Salon Effects are to apply, and these seem to be at the more difficult end of the spectrum  With Sweet Tart-an, I ended up with wrinkles, air bubbles, or both on every single nail, and none of the usual tricks to fix them up after the fact were particularly successful.  I didn't use base coat under them, and most of the others I've used have been really easy to apply smoothly all alone, but that wasn't the case here.  I considered taking them off right away since they're not perfectly smooth and will likely get on my nerves, but figured what the heck, I have red tartan nails whether they're perfect or not, added a coat of top coat, and called it finished.

I took a picture of them under artificial light once they were done, and this is my Sally Hansen Sweet Tart-an Salon Effects manicure.

Sally Hansen Sweet Tart-an Salon Effects
Sally Hansen Sweet Tart-an Salon Effects Nail Polish Strips

You can see the bubbles and wrinkles in the picture, but without the magnification they really don't show.  The only real trouble I anticipate is the unevenness getting on my nerves, but for a day or two, I can live with it.  Although this is one of my favorite Salon Effects patterns, the manicure with them is probably my least favorite  Salon Effects manis so far.

That's my Sweet Tart-an Salon Effects manicure and the update for today, so until next time, Dear Reader, love and nail polish to you!


All Rights Reserved, Siobhan@The Nailphile. If you're reading this elsewhere, it's stolen from a real nail polish blog.

Sally Hansen Sweet Tart-an Salon Effects

Good evening, Dear Reader!

I came across some new Sally Hansen Salon Effects nail polish strips while grocery shopping today, and they seemed like a good choice after soaking off OPI Divine Swine - I was up for low maintenance after that!

I've found that there's significant variation from one pattern to the next in how easy or difficult Sally Hansen Salon Effects are to apply, and these seem to be at the more difficult end of the spectrum  With Sweet Tart-an, I ended up with wrinkles, air bubbles, or both on every single nail, and none of the usual tricks to fix them up after the fact were particularly successful.  I didn't use base coat under them, and most of the others I've used have been really easy to apply smoothly all alone, but that wasn't the case here.  I considered taking them off right away since they're not perfectly smooth and will likely get on my nerves, but figured what the heck, I have red tartan nails whether they're perfect or not, added a coat of top coat, and called it finished.

I took a picture of them under artificial light once they were done, and this is my Sally Hansen Sweet Tart-an Salon Effects manicure.

Sally Hansen Sweet Tart-an Salon Effects
Sally Hansen Sweet Tart-an Salon Effects Nail Polish Strips

You can see the bubbles and wrinkles in the picture, but without the magnification they really don't show.  The only real trouble I anticipate is the unevenness getting on my nerves, but for a day or two, I can live with it.  Although this is one of my favorite Salon Effects patterns, the manicure with them is probably my least favorite  Salon Effects manis so far.

That's my Sweet Tart-an Salon Effects manicure and the update for today, so until next time, Dear Reader, love and nail polish to you!


All Rights Reserved, Siobhan@The Nailphile. If you're reading this elsewhere, it's stolen from a real nail polish blog.

Blue addicted

Hi ladies~ Wow, it's been almost a week since I've last posted! I have a lovely blue glitter polish to show you today - Essence Blue addicted. It's sooooo pretty ^^ ♥ I've always wanted to own Across the Universe by Deborah Lippmann, so this cheap alternative is going to be highly treasured!

blue addicted layered1

I layered one coat of Blue addicted over a coat of China Glaze First mate. First mate is an extremely pigmented crème navy blue and one of my favourites from the Anchors Away collection released at the beginning of this year.

blue addicted layered2

How amazing is Blue addicted? <3

Thanks for reading!
~Sharon